Chapter 8: Building a Barn (Phase 1)
Preface: why did we build a barn
Local Building Standards and Permits
Preparing the Site
Initially, we wanted to make a circular clearing behind our trailer to house the barn. We loved the idea of being in the center of a clearing in a ring of trees that would eventually grow up to tower over us and keep our barn completely hidden from view. We spent quite a lot of time cutting down trees and the brush in this clearing as well as clearing a large enough pathway for the trailer to be backed in over the road. This took up the first 3 weeks of living on site, but we ran into a roadblock....almost quite literally.
When I had budgeted for the barn, I did not factor in that our desired location was going to require about 20 tonnes/240 yards/ $5500 in fill to level the area. I came home from work one afternoon and Tyler pulled me out to excitedly show me the progress that he had made clearing the new driveway and adding some gravel. It was at this time that I realized it would be a HUGE volume that we definitely didn't budget for.
I mentioned my concern that day and we shrugged it off, but over the next couple of days it was hovering in the back of my mind and I finally told Tyler my concerns. We had also fully explored the brook/creek running on the other side of the property and I had been wishing that we were building our barn closer to the creek so it wouldn't be so expensive to run power lines from a future hydroelectric system to our barn (if that's the route we end up going).
These two factors tied in ultimately led us to decide to use the existing clearing closer to the road as our barn site, the location of the blueberry field we found earlier in the summer. Fortunately, there were no trees really in this site so while we lost time completing the first clearing, we didn't have to clear anything again.
To prepare the area, we factored in how we wanted the barn to be situated in this location to make it easiest to back our camper in when the time came. We also factored in the location of the sun and the wind so that the largest part of our roof would get the most sunlight. We built our stakes from cut-offs of the trees we cleared and some string we had on hand. Tyler had line levels in his gear so we used those to make sure we had the layout perfectly square and level before we started to dig. The variation from the highest point in the ground to the lowest point was roughly 2 feet.
Once the string line was up and all four corners were established, we marked out our 12 sites for the posts using orange spray paint.
Post Digging and Setting in Concrete
Once our posts were marked, we came upon the HUGE project of digging these holes by hand. I had initially factored in the rental of a gas auger to dig our post holes, but we were so eager to break ground that we just started digging one day. We hit rock. A LOT of rock. And frequently! Gas augers are great, but they aren't very helpful when you hit this type of rock, which forces you to dig them out anyways.
Each hole had to be dug to a depth of 4 feet, but we also needed to lay down 6 inches of gravel under that 4 feet for drainage, because no one wants their barn foundation to rot away. So our ultimate goal was to dig 12 holes to a final depth of 4 ft. 6 inches, with a diameter of 2 sq. feet. No small accomplishment for us who were working with just two shovels, an ice pick, a hammer and a crowbar.
Digging is hard work. It is not overly complicated work, but it does require a degree of determination and there are definitely methods to learn to use the mechanics of your body properly to make it easier. Tyler was leagues ahead of me in his ability to work long hours doing manual labor thanks to his long tenure working in construction, but my body was definitely not accustomed to this kind of work. I got frustrated digging out our very first hole. I asked Tyler to show me how you would continue to work once your shovel became relatively useless (at a certain depth it becomes useless without enough width in the hole to get leverage). His answer was pretty straight forward- you put yourself in the hole.
In the end, my favourite technique was to dig the holes to a depth of roughly 2 ft. with the shovel and then switch to laying on my stomach and digging mainly with the crowbar and pulling out the loosened dirt by hand using an old stainless steel mixing bowl.

What laying on your stomach digging holes looks like by the end of the day.
It wasn't a fancy process, but I was leagues faster than Tyler who stubbornly stayed using the shovel until I took over from him.
I can't tell you how exciting it was to be finished digging the holes and move the project on to setting our posts in concrete. I was able to borrow from our previous work in the first clearing and grab a bunch of trees with Tyler to save me from having to cut down 24 new trees, we had about 12 pine poles ready to be cut in half that just needed to be moved from one site to another.
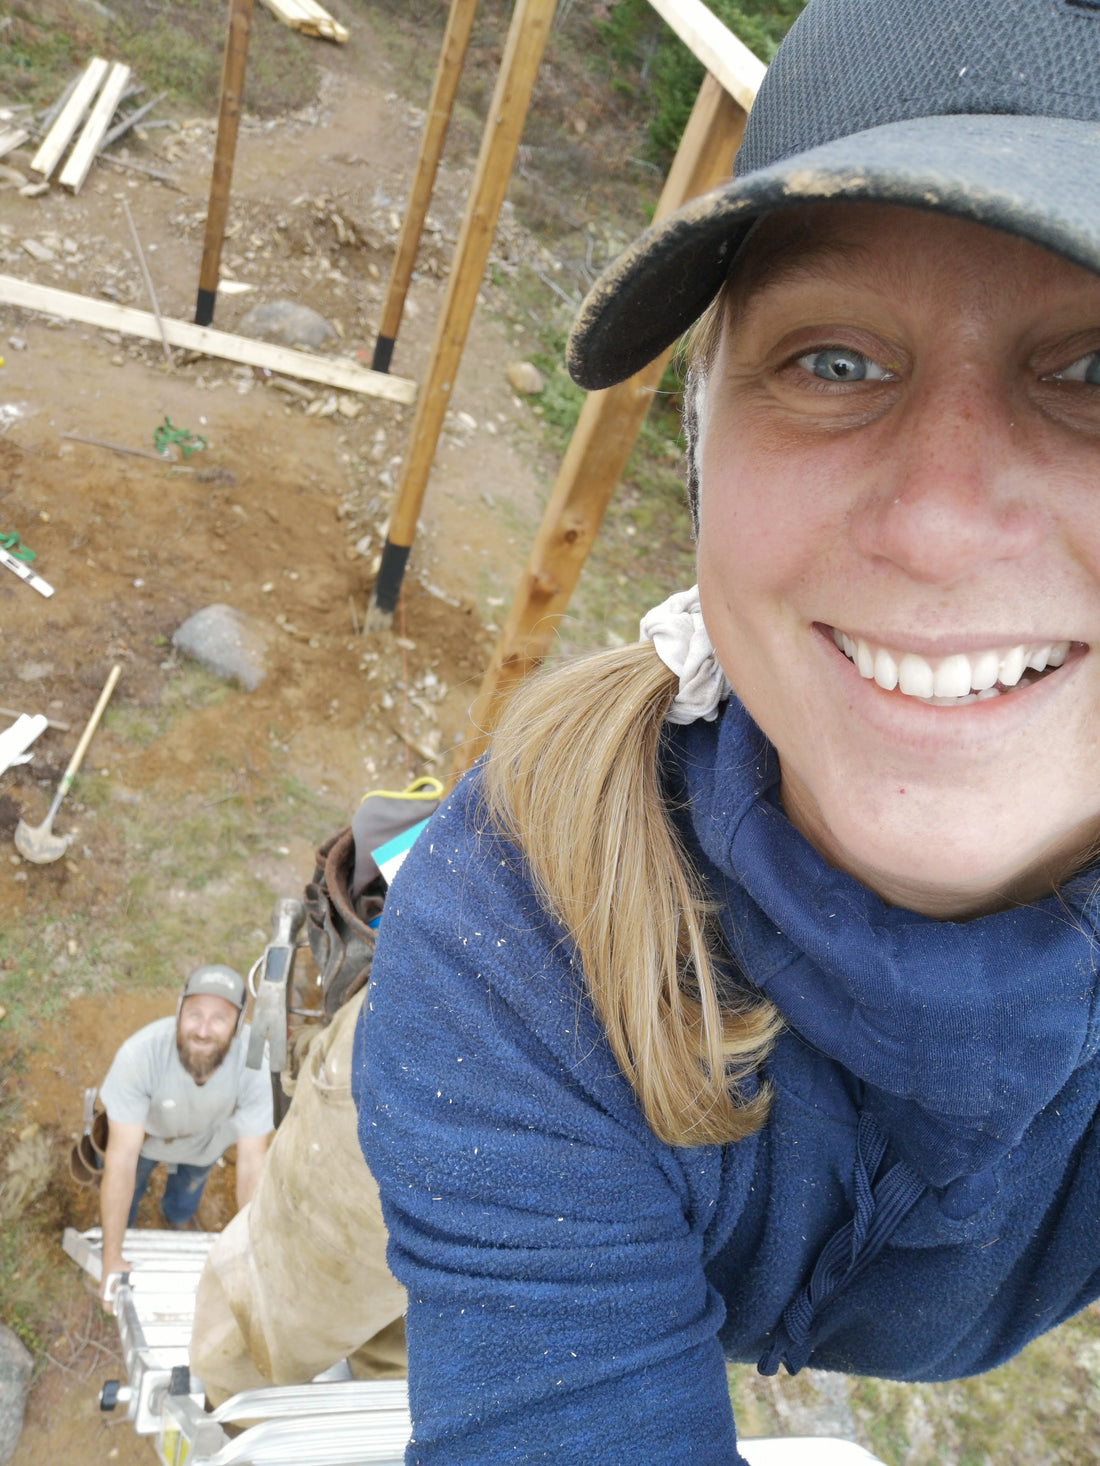
The next step was to lift all of the posts into the holes and level/square them in each hole to make sure the final barn would be properly distanced apart. Tyler was at work this day so I tried to (successfully) do it by myself.
Step one was to coat the bottom 5 feet of the 6x6x16 posts in bitumen to prevent rot. Once this dried, I carried the posts to their final locations and placed them as near to their respective holes as I could. Then I placed two braces and two stakes to be within reaching distance once I had a post standing up. I then stood up the post and nailed the braces on, leveled off each post both horizontally and vertically and staked them into place. Surprisingly, it went fairly well except the final post which was too green and so heavy I couldn't bear the weight. Luckily, Tyler got home from work at this point and I was able to convince him to help me finish.
The final step of this part was to concrete everything in place. There was a delay of a few days between finishing staking the posts and when we next had an opportunity to work together so we did end up having to relevel some of the posts. Tyler grabbed water from the stream using buckets and the wheelbarrow. We mixed two bags of concrete per post (for a final pad that would be 2 ft. x 2ft. x 4 inches) and dumped it into each hole.
At this point, we had to contact our local building inspector as per our building permit to have them inspect our footings and make sure everything was in order. We were able to have them confirm everything within a week and we were approved to move on to the next stage: top plates and joists.
Leveling the Ground
As you can see from the photos, the location that we chose was relatively flat, but there were still gradation changes that ran about 2 feet in difference from the highest area to the lowest area. In order to be able to level the ground inside the barn, we first purchased some fill. The shale fill was unfortunately dropped about 25 feet from where we wanted it dropped and it was so chunky that it was nearly impossible to move. We ended up mostly spreading it around the front of the barn instead of using it as intended. Needless to say we were not happy with our supplier.
We did need to level the area so I found a new supplier, a great local company called Nick Zinck Excavation. Nick is located just in New Germany, so only a few minutes away. He was able to provide us with two full loads of Class A Gravel which he dumped inside the barn and we raked out and tamped down.
Top Plates and Joists
Putting on the top plates (2 rows of 2x6x10) on the posts really put our measurements to the test- would they be level? Would they be in to correct spot?
Fortunately for us, our measurements really panned out and Tyler didn't experience any difficulty getting the top plates on. Which was a relief because all of the work up to now was physically demanding and I was really excited to not have to dig again for the foreseeable future. We adhered our top plates using structural nails (they're really long, thick and have a spiral to them).
Putting in the top plates really set Tyler apart from myself in terms of experience as a carpenter and in framing. He had no difficulty in climbing up the ladder and spending a full day hammering away. These nails take quite a lot of force to nail in and he was able to swing away at full force even when it needed to be done on an angle, upside down or at the full capacity of his arm span. I tried to give it a go once or twice but I was more than happy to let him do his thing and just measure, cut and pass up the boards to him.
Once we had all the top plates on, the barn really started to look like a building. Our next step was to raise up the joists to pull together the building across the center and give it some real strength.
The joists were SO HEAVY. At 20 feet long and 10 inches wide, Tyler and I had to carry them over together. Tyler attempted to layout the joists and then manhandle them up the ladder, but we quickly realized this was not going to work since we had more than 20 to put up and it was too exhausting. So we MacGyver'd together a pulley system out of three ratchet straps tied together and swung over the top plates and I pulled with all my might as Tyler carried the back end up the ladder. This system worked very well and we quickly got into a rhythm where we would pull one side up, move the ladder to the other side and pull that side up. Tyler would nail both sides in (having to move the ladder again in between nailing sides) and while I was waiting for him to finish I would measure, cut and place the next joist. Using this process it only took us about 8 hours start to finish to put them all up.
Weather Barrier, Strapping and Siding
After the joists were up, we moved on to adding weather barrier, strapping and the start of our board and batten siding. It had been our plan to finish the roof at this point, but we had some supplier issues where we couldn't get all the structural lumber we needed to finish framing the roof in so we had to make the decision to either delay the project further and hope we wouldn't get stuck in poor winter weather or just call it a season and seal it up. We decided to go with the latter decision.
We added house wrap around the building to help with moisture control and block some of the drafts. This step was difficult to do as the area we chose was a bit breezier than the areas that were more densely forested. We ended up having to wait for a few nice days with good weather rather than struggling in the wind hoping that the staples would hold until the strapping was on. I had never installed house wrap before so Tyler and I did the first side together.
The next nice day that we had, I was working on the project alone while Tyler was at work so I used a long clamp and only rolled out enough house wrap to get to the next post. Though the process took longer than with two people, with the help of the clamp to hold the roll and some ratchets to secure the ladder, I could safely install both the house wrap and the 10 foot lengths of strapping by myself. I got the second side of the barn completed before Tyler got home and he only had to help me apply the last few pieces of strapping I just couldn't hold up anymore from being too tired.
It was THRILLING to move on to putting on the boards for our board and batten siding, the final step on building the walls of our barn.
For our siding we chose board and batten because Tyler and I both love the look. Its also surprisingly less expensive than plywood, a common material used for storage barns yet much prettier.
Applying the boards was by far the most satisfying and the fastest stage of the project. Our boards were rough cut at the mill, so we had to measure and trim each board exactly to 12 feet before installing. To make this process easier we would cut 10-12 boards at a time and install them and then start again. It was easiest for us to do this together due to their height. In this process I learned that I am actually an ambidextrous hammerer so I can work very easily up on the ladder swinging from both sides. I actually loved climbing up and down the ladder so much, so we would measure and level the boards together and I would nail in the top first and then Tyler would work his way up and I would work down before moving over for the next one. Each board got 16 nails in it so it was a fair amount of hammering, but it was fun since they were smaller than the structural nails and they went in pretty easily.

When I compare how well I can complete the same task pre barn and post barn I can already measure how much I have progressed in terms of strength and skill. The weeks of digging posts really taught me how to handle a shovel better, sometimes because Tyler showed me some better techniques and sometimes I learned just by constant repetition. It's rather exciting to see so much progress in myself in just a few months because one of the main reasons I chose this lifestyle was to be forced to be more active for my own good.

Getting our civic address and a Canada Post Mailbox!
After our site visit and approval of our foundation by the building inspector, we were issued our civic address. This step was a new one for me and a necessary one to be able to apply to Canada Post for a mailbox. We received an email stating our new address as well as a letter in the mail that we could bring to Canada Post.
We had to supply the little blue road sign that is a requirement for all civic addresses by the municipality, so we ordered one from the Lunenburg Hardware in Lunenburg. The cost for the little blue sign ran us about $30 and then an additional $12 for a metal post hold it up.
It felt like a big day when we walked down to the end of our road to hammer this tiny sign into the ground. Here's hoping that this is the last address we ever have (I am on residence number 20 and Tyler is on residence number 6).
At this point I also made a Google profile for us and that really makes us feel that much more official as a farm business.
Building a Temporary Roof
The final part of Phase 1 of our barn build was to install a temporary roof using a heavy duty tarp that we purchased from Princess Auto.

Putting on a tarp that large over a height that high was no small feat, but we managed to get it on and secured just days before the first snow fall!

Our set up for the first winter!
Phase 1 Takeaways
This whole process is one giant learning experience for us as we learn how to work with the land and the climate, our new community of suppliers and local businesses and our own expectations. So I think it is appropriate to post some handy takeaways for anyone else looking to embark on a similar project:
