Chapter 6: Setting up Camp
Share
Wow! So it's been a few months since I've had a chance to write an update on how things have been going. I hope that if you have been missing our updates you are able to follow along a bit on our social media channels (Facebook and Instagram) because I post more of our day to day there since its, well, easier. I am going to attempt to revisit our summer up until now, but I will split it into parts so that it won't take you three hours to read. Let's start with setting up camp :D
Building our Temporary Camp
I left you last when we were working to build our set up for the summer. Our goal was to start by building a temporary clearing/pad for our camper so we would have space to move around comfortably and make it feel like home. This was the first time we tried to use any bush craft methods to the test, and it worked pretty well.
We noticed that there was a lot of traffic through our right of way so we decided to move to a more private area inside the property. Turns out this wasn't really necessary since the traffic really died down once people knew the property had been purchased. You can see where we decided to put the camper in the higher circle in the image below and where we decided to build the barn in the lower circle. Our neighbor sent me this photo the other day as Google took new images of our area in October and you can already see us on site! So cool!

To build our temporary pad we used two materials: fresh cut pine and gravel. We quickly learned in trying to level the area with shovels and a pickaxe that the ground is not at all hospitable to digging, so we have decided that we will leave the earth untouched (yay, permaculture!) and just focus on building up. We had to clear the area which was densely wooded with trees that had a width of about 4-6 inches, but we reused all the wood we cut down to build a retaining wall for the gravel to help level the area.
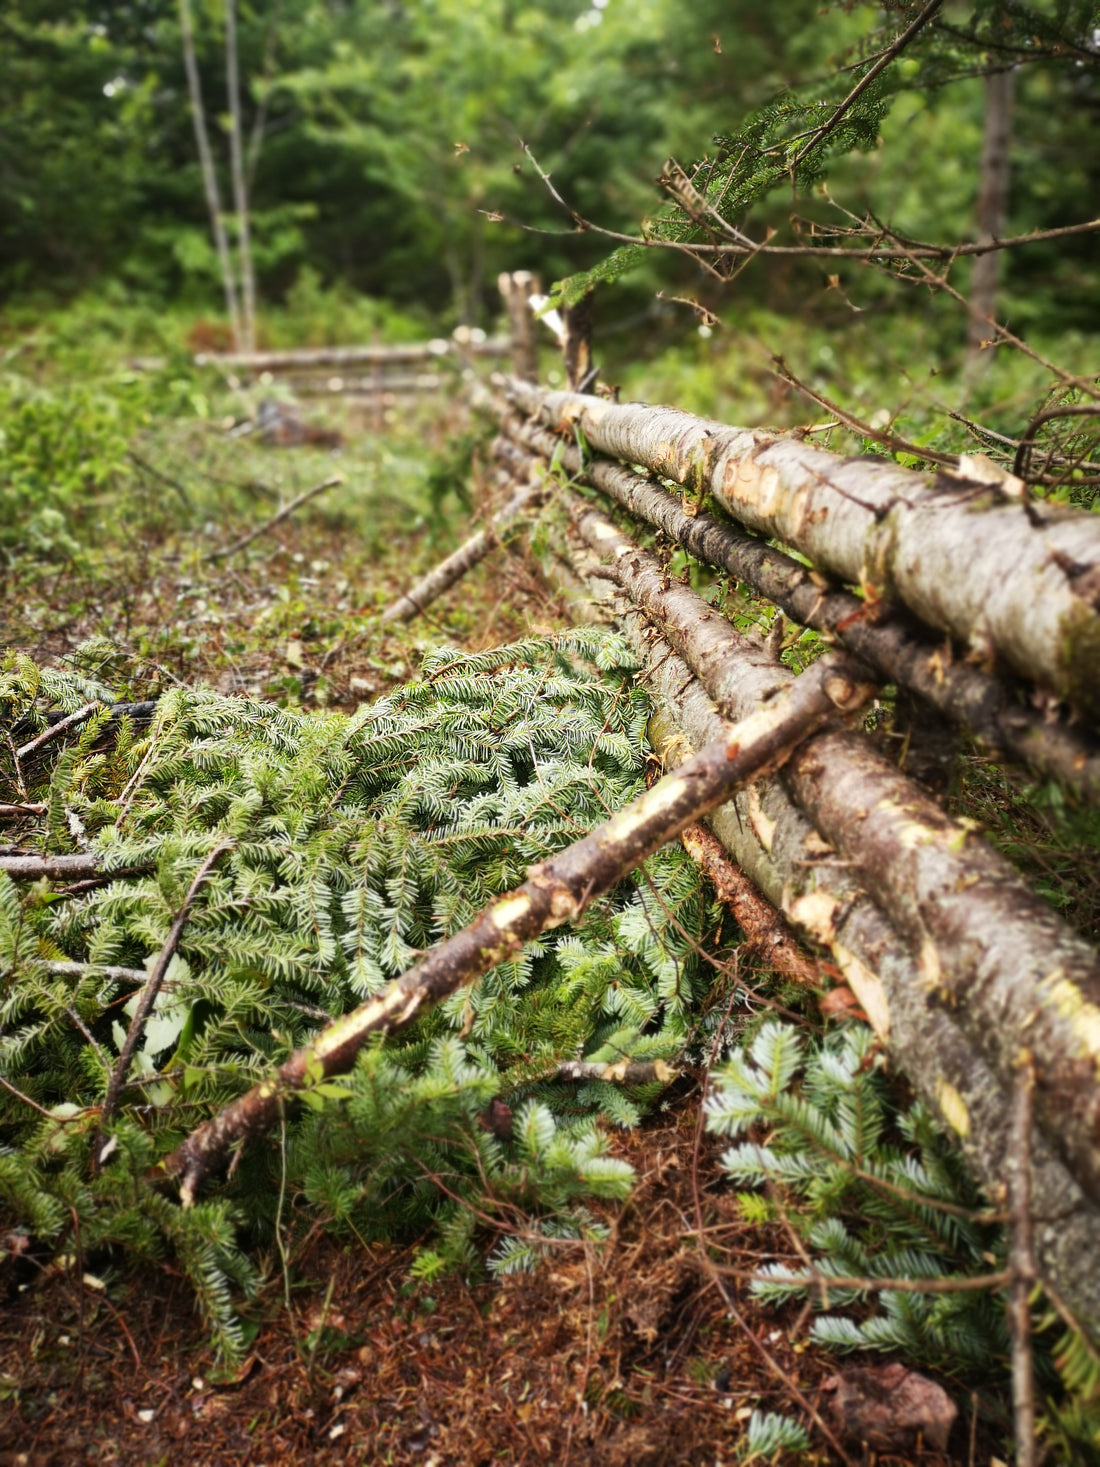
To build the retaining wall, we cleaned up the felled trees by removing the branches and burning them. We cut the length of the trunks to fit the size of the pad (about 20 feet by 16 feet) and used the cutoffs (read: the tops) as stakes. We alternated the stakes on either side of the logs to pressure fit them into a wall and drove them in using a sledgehammer. Clearing the area and building this wall took us about two days of 4 hours each working together. It was raining gently while we worked which helped reduce the number of bugs that could bother us and kept us nice and cool. Tyler played Heilung while we worked which gave the work a very methodical, rhythmic feel.
We had to wait about a week to get both loads of our gravel delivered and it was quite interesting trying to give directions to the correct spot without a civic address or signage but our supplier seemed to be pretty accustomed to this type of thing. We ended up having 24 yards of gravel delivered total, but only used about 18 yards on the pad and had the remainder set aside for future use. Most of the cost of the gravel was delivery so we figured we might as well buy a little extra and then have a spare gravel pile for smaller projects. Tyler got most of the gravel spread by the time I got home from work (what a champ!) so I just helped to rake it and level it while he tamped it down.
Once the pad was done Tyler backed the camper into the spot like a pro and then we set up our camp. The pad was a bit smaller than we would have liked as we didn't take into consideration the ability walk all the way around the camper comfortably and the awning could quite extend all the way without hitting our temporary shed. This made pumping water into the camper a tedious and awkward chore but definitely not a deal breaker.
The only thing left to do was to build our humanure composter so that we could safely and securely start composting our toilet. We used the same method and tossed together a great looking bin in just under an hour. To start using it we laid down about 6 inches of wood chips that Tyler was able to snag from his work and then we were good to go. I'm happy to say that the composting toilet has definitely been the best and easiest off-grid life hack we have done so far, it is really as simple as they say!
Thanks for following us on our journey off grid! My next post will be covering our summer fun learning about our property, making friends and exploring our new province. Subscribe to our updates in our journey off-grid by signing up for our newsletter below.
