Chapter 21: Malagash Mushroom Making Magic
Share
This week on 2 Kids Off-Grid, my friend Shawn and I road-tripped up 3 hours to Malagash on the North Shore of Nova Scotia to take a mushroom growing class from Kelly, the energy behind Malagash Mushrooms, Trees and Bees. We learned all about nurturing mushroom spores through the stages from a test tube to freshly cut logs to harvest.
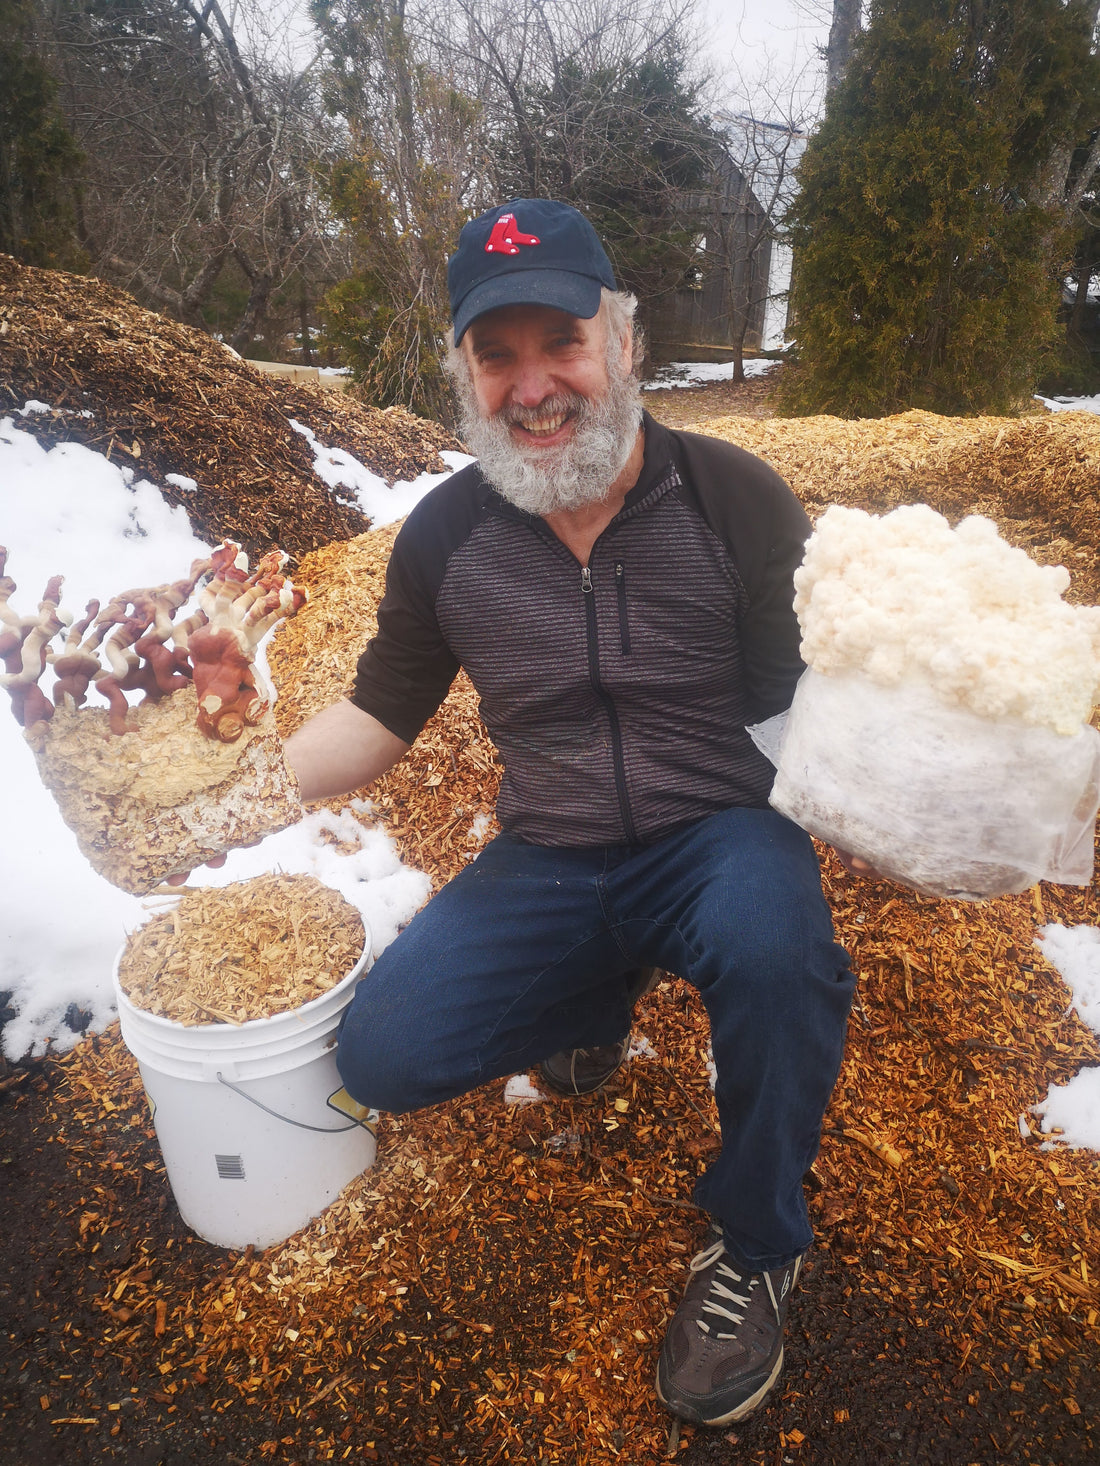
When we arrived in Malagash, Kelly didn't waste any time in bringing us into his workshop. We were greeted immediately by this mushroom sculpture he had been experimenting with, trying to coax the mushrooms to look like hands growing out of the sawdust for Halloween.

Kelly got right into the workshop, starting out by explaining how he purchases his different mushroom strains from high quality labs in syringes and then uses this high density source of spores to incrementally feed them into larger and larger bags of feed until they are ready for log inoculation. There were about four stages of growth between the spores from the syringe to the spores ready to take on the density of wood in a freshly cut log.

Once he has reached the first stage of feeding in a bag of sawdust and mushroom food (Whether it was wood chips, a mixture of millet or other grains), Kelly often takes samples of this growth and saves that living spore on a petri dish. Once it is saved, he can grow that sample for later use until it takes up the whole dish and then stores it in the refrigerator so that it goes dormant. This saves the spores for later use and makes his source syringe last that much longer. The petri dish can be stored for up to 6 months successfully.

He had another method for saving spores that extends that six month lifespan, using small vials but a very similar process. Stored in vials, the samples last up to two years in the refrigerator. You can see the wide variety of mushrooms he has experimented with recently in this shot of his DIY vial stand pulled out for us.

Moving from that initial stage of spore growth, Kelly explained that once you have the spores growing you must keep upsizing the bags of feed for the spores as they grow, each time adding substantial volume and increasing the overall output of potential plugs for your logs. A tiny drop from the original syringe can eventually supply hundreds of plugs if done correctly.

Grey Dove Mushrooms on Straw. Photo Courtesy of Malagash Mushrooms
There are two choices for inoculating logs. Kelly demonstrated that purchasing wooden plugs is easy in terms of providing plugs for resale because customers only need a hammer and drilled holes in the log in order to inoculate their own logs. The drawback from this method is that you must buy plugs which are far more expensive than using the ample supply of sawdust that he has from the forestry side of his farm.

So if you wanted to follow his process, you would need a nifty little tool called a sawdust inoculator (pictured below, brass) that picks up a plug side amount of the inoculated sawdust and jams it into the pre drilled holes.

Italian Oysters on Straw. Photo Courtesy of Malagash Mushrooms.
The holes are set in each 3 foot length of freshly cut log, about six inches apart lengthwise in an interlocking pattern around the circumference set about 1 inch apart on the diameter. Every log gets about 30-50 plugs depending on the size.

I loved this handy little tool. The sawdust inoculator picks up the loose sawdust and compacts it with a quick tap on the top into your predrilled holes.

After showing us the process with the inoculator, Kelly set out some plugs and gave me a hammer to start inserting the wooden plugs into the holes. I was able to inoculate 2 logs in about 15 minutes as we chatted away.

Once completed, both options require a small amount of piping hot beeswax to seal the spores in the log. Kelly had hot wax ready to go in an upcycled rice cooker and an old paint brush. As he might say, the hotter the wax, the better it sticks!

Golden Oyster Mushrooms on Sawdust and Straw. Photo Courtesy of Malagash Mushrooms
Having the wax seal the hole is mighty important, as you are trying to prevent any competing spores from entering the log. Once all the plugs are sealed you pick up the whole log and dip the smaller of the two cut ends in the wax to seal one end, leaving the other open for moisture to enter the log. Kelly then wrote the type of mushroom in the log so we wouldn't forget which is which.

And that's it! Obviously with the help of an expert, mushrooms seemed like an easy process but it was clear that in his 7 years experimenting with mushroom growing that he has fine tuned his skill to a science.

Warm Strain Shiitake on Maple. Photo Courtesy of Malagash Mushrooms.
I would give him a 10/10 rating for his knowledge as well as his affordability- you can buy the plugs from him (prices vary but he does ship across the province!) or buy finished logs at roughly $35 per 3 foot length and grow your own mushrooms. No work and up to 5 years of harvesting from each log. What a deal!

If you want to reach out to Kelly to attend his workshops or buy some plugs to grow your own, you can find him on Facebook at Malagash Mushrooms, Trees and Bees.
